")


Pacotes da I2P no Debian
Debian ou Ubuntu, todas as versões
Os pacotes Debian devem funcionar na maioria das plataformas em execução:- Ubuntu (Bionic 18.04 e mais recente)
- Mint(Tara19) ou mais recente
- Debian Linux (Buster e mais recente)
- Knoppix
- Opção 1: Versões recentes do Ubuntu e derivados (Tente isto se você não está usando o Debian)
- Opção 2: Debian (incluindo derivados do Debian)
Instruções para Ubuntu e derivados como Linux Mint & Trisquel
Adicionando o PPA via linha de comando e instalando a I2P
-
Abra um terminal e digite:
sudo apt-add-repository ppa:i2p-maintainers/i2p
Esse comando adicionará o PPA para/etc/apt/sources.list.de obterá a chave gpg com a qual o repositório foi assinado. A chave GPG garante que os pacotes não foram adulterados desde sua construção. -
Informe o seu gerenciador de pacotes sobre o novo PPA, digitando:
sudo apt-get update
Este comando retornará a última lista de software de cada repositório autorizado no seu sistema, incluindo o PPA da I2P que foi adicionado com o comando anterior. - Você já está pronto para instalar a I2P!
sudo apt-get install i2p
Adicionando o PPA Usando o Centro de Software
-
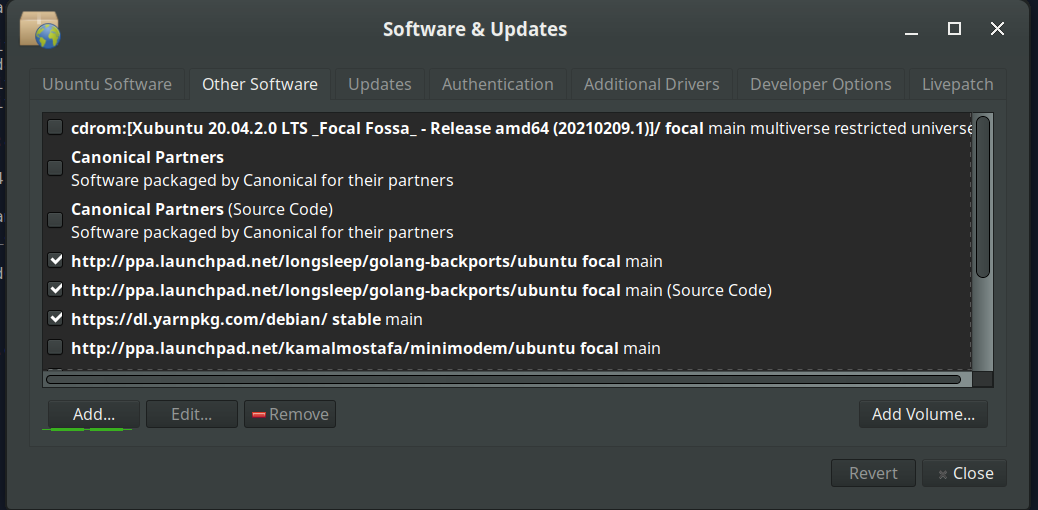
Abra "Software e Atualizações" pelo menu de aplicações.
-
Selecione a aba "Outros Softwares" e clique no botão "Adicionar" na parte
inferior para configurar o PPA.
-
Adicione o PPA colando a URL:
ppa:i2p-maintainers/i2pno diálogo do PPA.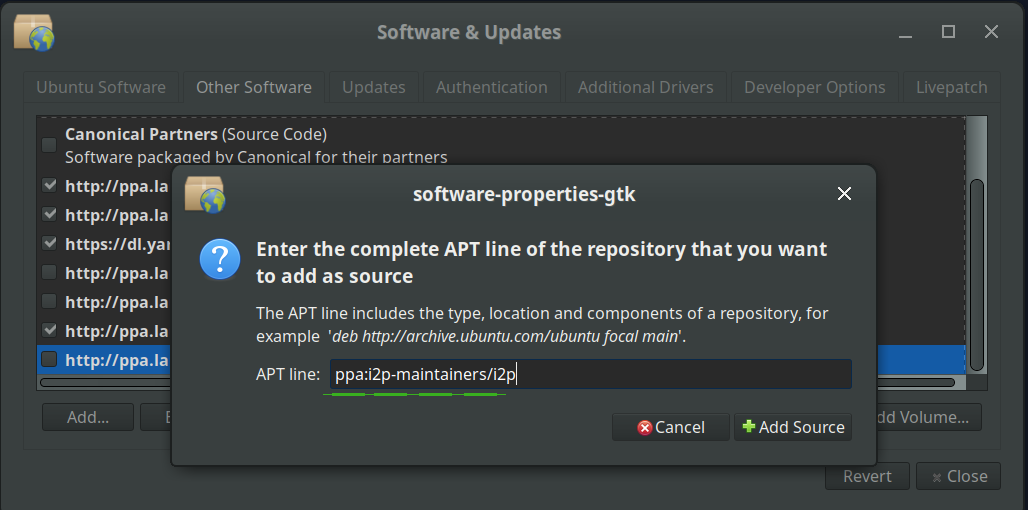
-
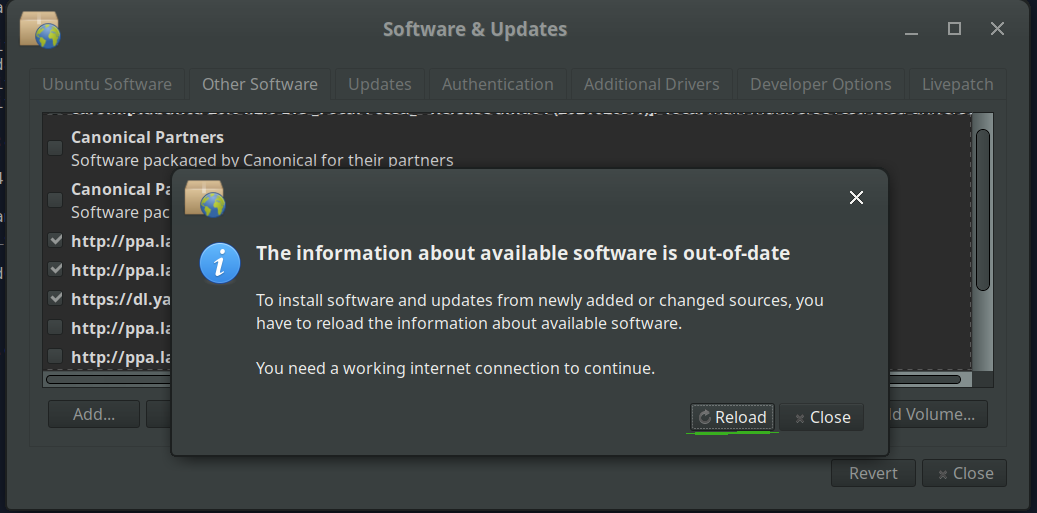
Baixe as informações do repositório com o botão "Recarregar".
-
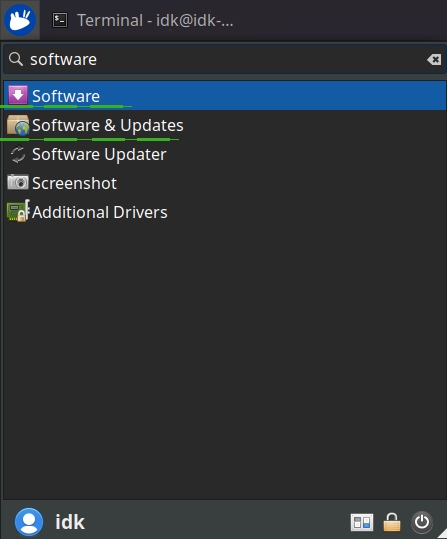
Instale o software I2P usando a ferramenta "Software" do
menu de aplicações.
Instruções para o Debian
NOTICE:
Our old Debian repos deb.i2p2.de and
deb.i2p2.no are EOL.
Please follow these instructions
to update to the new repository, deb.i2p.net.
Note: Os passos abaixo devem ser realizados com acesso root (ou seja, mudando
de usuário para root com su ou pondo sudo antes de cada comando).
- ,
- Certifique-se de que
apt-transport-https,curl, elsb-releaseestão instalados.sudo apt-get update sudo apt-get install apt-transport-https lsb-release curl -
Verifique qual versão do Debian você está usando nesta página na wiki do Debian
e verifique com
/etc/debian_versionno seu sistema. Então, para o Debian Bullseye, ou distribuições mais novas, execute o seguinte comando para criar/etc/apt/sources.list.d/i2p.list.
# Use this command on Debian Bullseye or newer only. echo "deb [signed-by=/usr/share/keyrings/i2p-archive-keyring.gpg] https://deb.i2p.net/ $(lsb_release -sc) main" \ | sudo tee /etc/apt/sources.list.d/i2p.list# Use this command on Debian Downstreams like LMDE or ParrotOS only. echo "deb [signed-by=/usr/share/keyrings/i2p-archive-keyring.gpg] https://deb.i2p.net/ $(dpkg --status tzdata | grep Provides | cut -f2 -d'-') main" \ | sudo tee /etc/apt/sources.list.d/i2p.list# Use this command on Debian Buster or older only. echo "deb https://deb.i2p.net/ $(lsb_release -sc) main" \ | sudo tee /etc/apt/sources.list.d/i2p.list# Use this command on Debian Buster or older only. echo "deb https://deb.i2p.net/ $(dpkg --status tzdata | grep Provides | cut -f2 -d'-') main" \ | sudo tee /etc/apt/sources.list.d/i2p.list - Baixe a chave usada para assinar o repositório:
curl -o i2p-archive-keyring.gpg https://geti2p.net/_static/i2p-archive-keyring.gpg - Exiba a impressão digital da chave.
gpg --keyid-format long --import --import-options show-only --with-fingerprint i2p-archive-keyring.gpg7840 E761 0F28 B904 7535 49D7 67EC E560 5BCF 1346 - Copie o chaveiro para o diretório de chaveiros:
sudo cp i2p-archive-keyring.gpg /usr/share/keyrings/etc/apt/trusted.gpg.d.sudo ln -sf /usr/share/keyrings/i2p-archive-keyring.gpg /etc/apt/trusted.gpg.d/i2p-archive-keyring.gpg -
Notifique o seu gerenciador de pacotes sobre o novo repositório inserindo:
sudo apt-get update - Você agora está pronto para instalar a I2P! Instalar o pacote
i2p-keyringgarantirá que você receba atualizações à chave GPG do repositório.
sudo apt-get install i2p i2p-keyring
Uma vez que o processo de instalação tenha terminado, você pode avançar para inicializando a I2P e configurando-a para o seu sistema.
Trabalho pós-instalação
Usando estes pacotes da I2P o roteador I2P pode ser inicializado das três maneiras seguintes:-
"sob demanda" usando o script i2prouter. Simplesmente digite "
i2prouter
start
" na interface de linha de comandos. (Nota: Não usar "sudo" ou executá-lo como root!) -
"on demand" sem o java service wrapper
(necessário em sistemas não-Linux/não-x86) executando "
i2prouter-nowrapper". (Nota: Não use sudo nem execute como root!) -
como um serviço que se inicia automaticamente com a inicialização do sistema, mesmo
antes de logar-se. O serviço pode ser ativado com "
dpkg-reconfigure
i2p
como usuário root ou usando 'sudo'. Essa é a forma recomendada de operação.
Ao instalar pela primeira vez, por favor lembre-se de ajustar o NAT/firewall se você puder. As portas a serem encaminhadas podem ser encontradas na página de configuração de rede no console do roteador. Se for necessário uma orientação a respeito do encaminhamento de portas, você pode encontrar no portforward.com, pode ser útil.
Por favor, reveja e ajuste as configurações da banda larga na página de configurações, uma vez que os valores pré-definidos 96 KB/s para download / 40 KB/s para upload são relativamente conservadores.
Se você quiser acessar Sites I2P através do seu navegador, dê uma olhada na página configuração de proxy do navegador para um tutorial fácil.