Separately Installing I2P and its dependencies on MacOS(The Long Way)
This is a detailed, step-by-step guide to installing and configuring I2P, including all dependencies and setting up a browser, on a new MacOS system. Many users will be able to skip steps if they already have Java 8 or Firefox installed.
Donc que faisons nous ici ?
Nous allons finir quatre tâches. Nous allons :
Partie 1 : Installer Java
In order to use I2P, you will need a suitable Java environment. This guide uses Oracle's Java 8 implementation. Please install it by following the instructions below:
Si vous avez déjà Java installé, vous pourrez Skip This Step
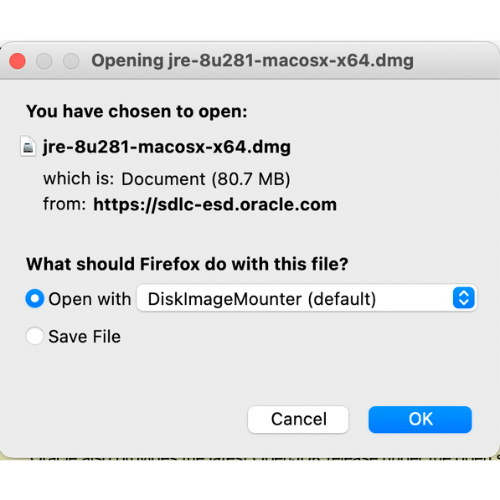
- Begin by downloading Java, for example, using this version from Oracle.
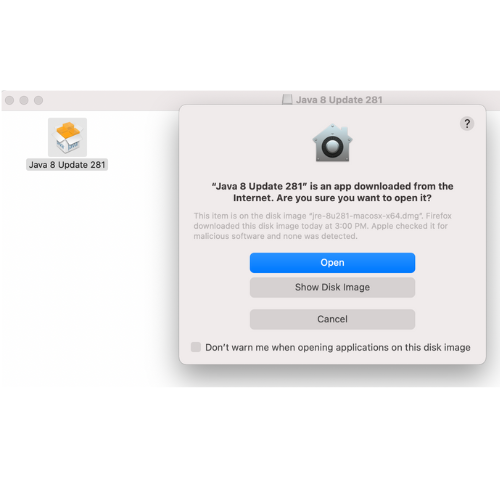
- Double-click the installer you just downloaded and allow the installer permission to proceed.:
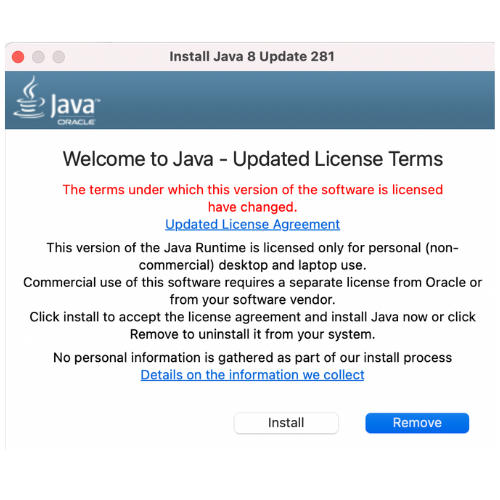
- Accept the License terms.
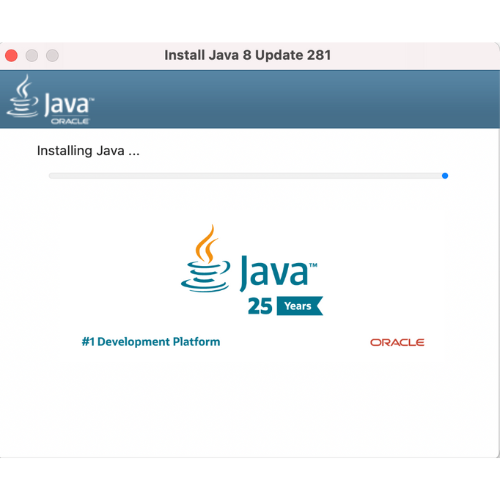
- Java will show you some information about what it is and where it runs while you wait for it to finish installing.
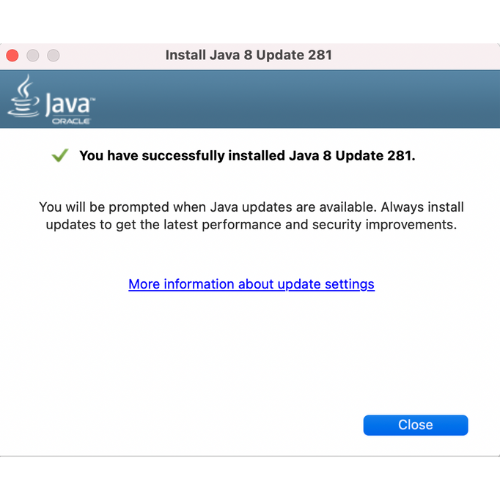
- When Java is done installing, it will look like this.
Part Two: Download and Install I2P from a .jar file
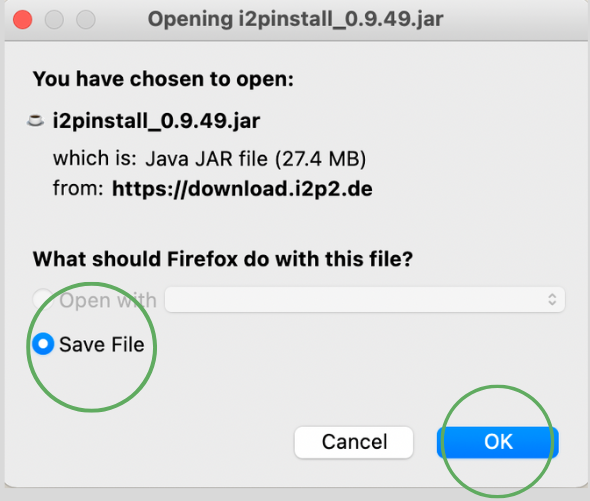
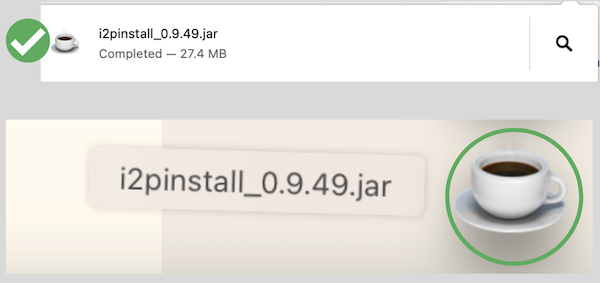
- Download I2P for Unix from https://geti2p.net.
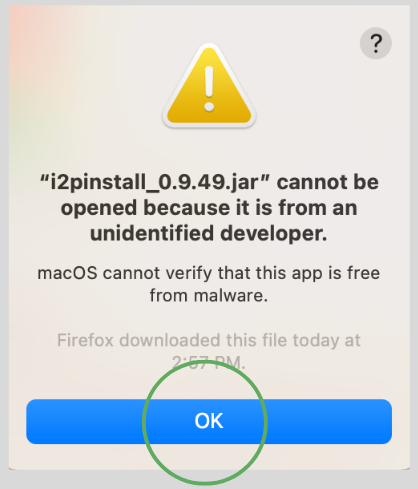
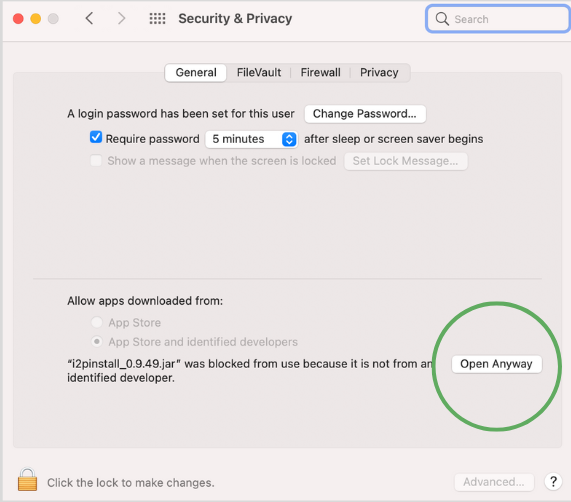
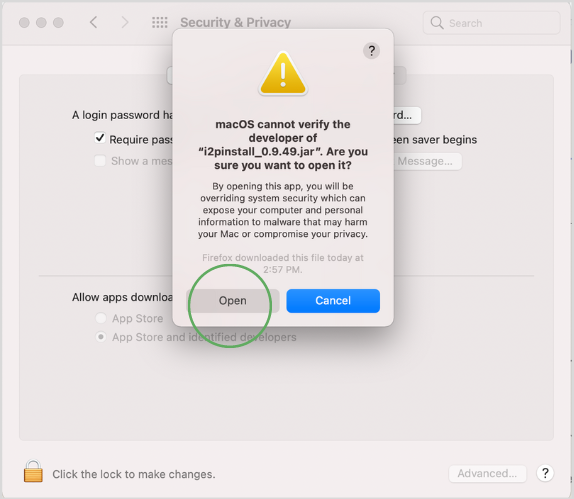
- Because I2P is being installed from a .jar file, it cannot be signed by an Apple certificate.
You will need to allow it special permission to install.
Even though the installer is unsigned, the updates are signed end-to-end by I2P.
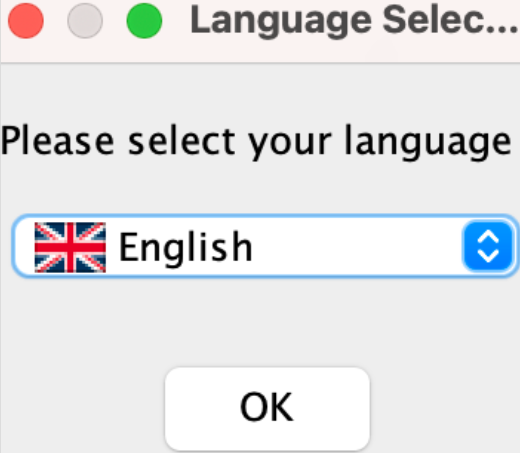
- Select a language you are familiar with.
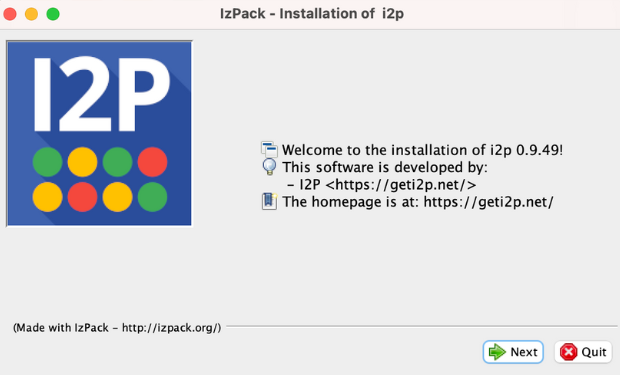
- Now the installer is ready to start.
Click next to advance.
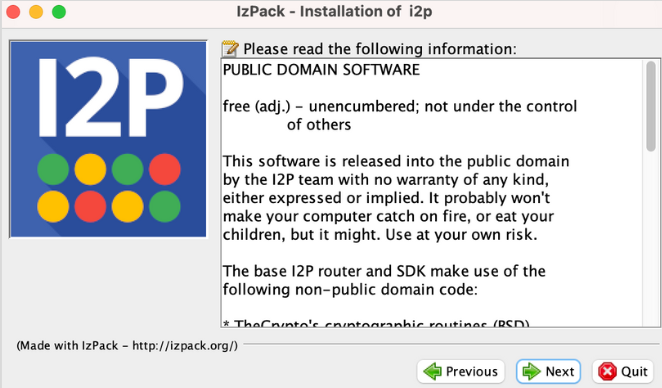
- Accept the license.
I2P is Free Software, mostly in the public domain with limited use of GPL2, Creative Commons, and other Free and Open-Source Licenses.
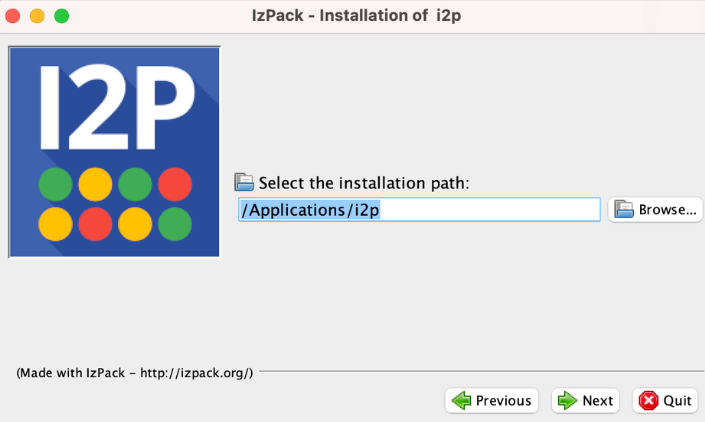
- Install the I2P router and base config.
It is recommended that you keep the install directory the default.
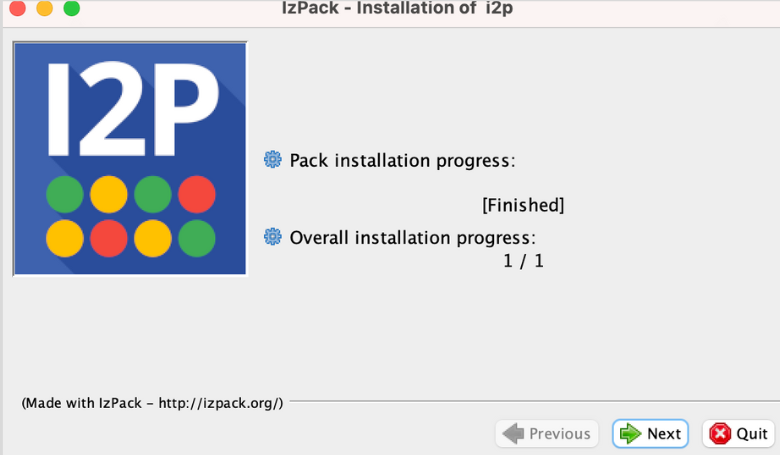
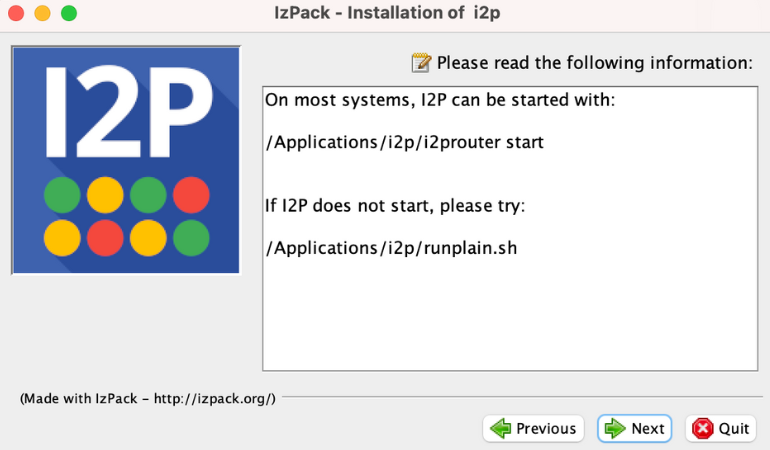
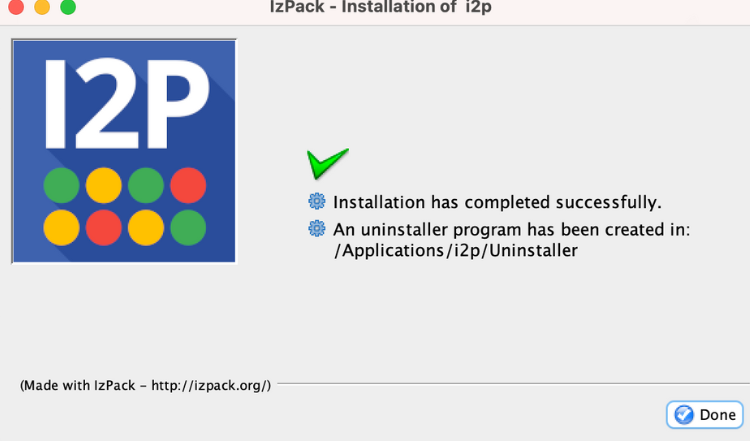
- I2P is now installed!
The remaining installer pages explain some aspects of running I2P on OSX.
Part Three: Configure I2P App
- For convenience, you may want to create a shortcut to launch the I2P router.
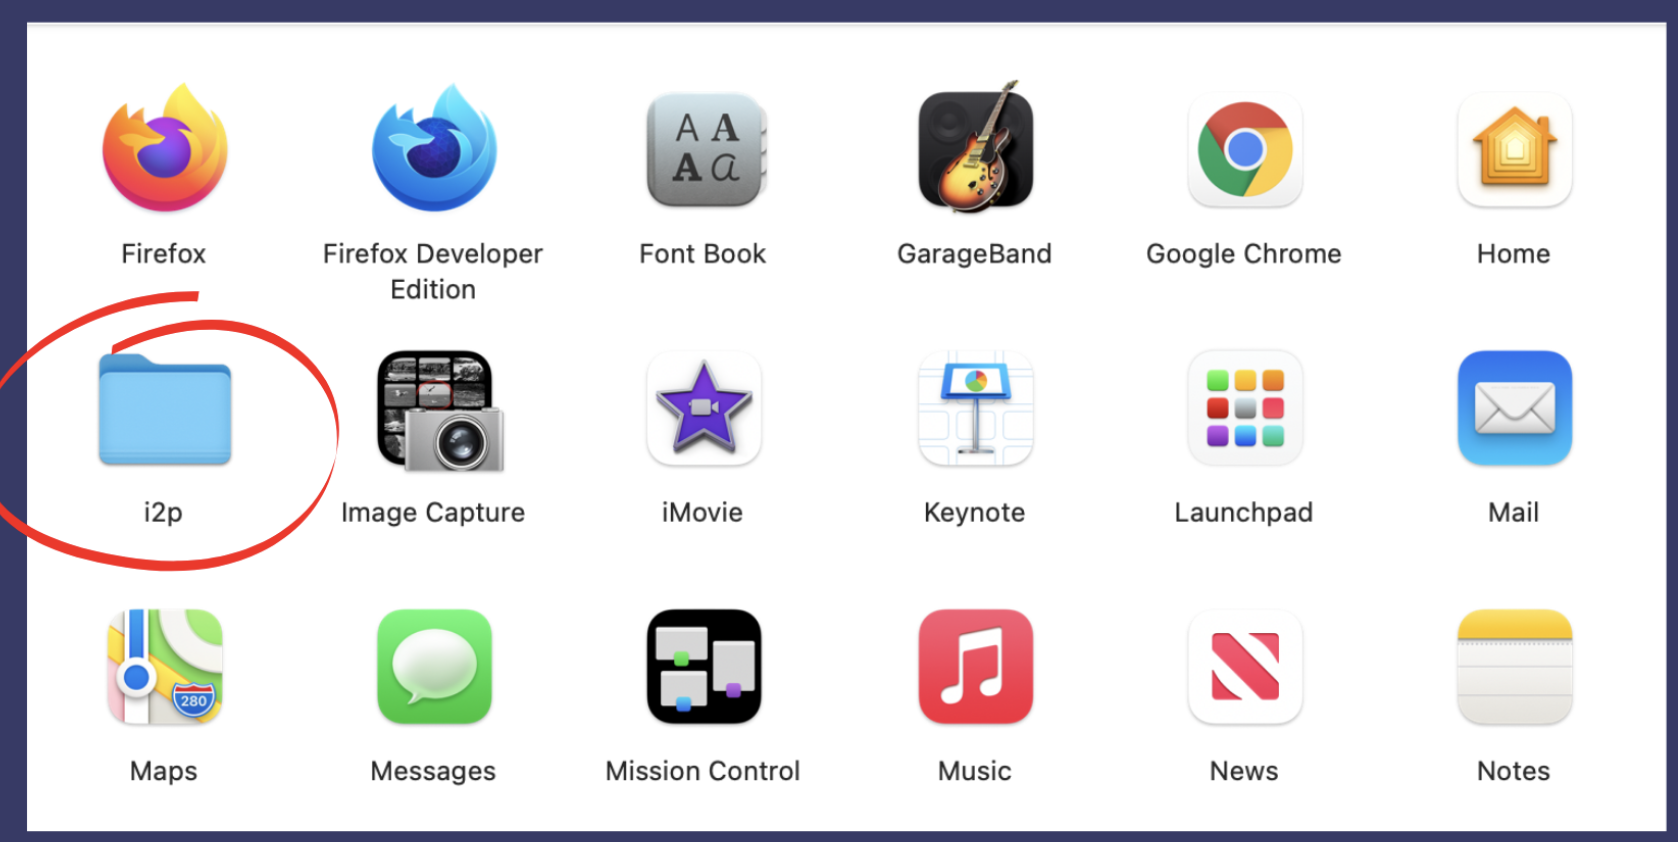
Find the "i2p" directory in the "Applications" directory using Finder.
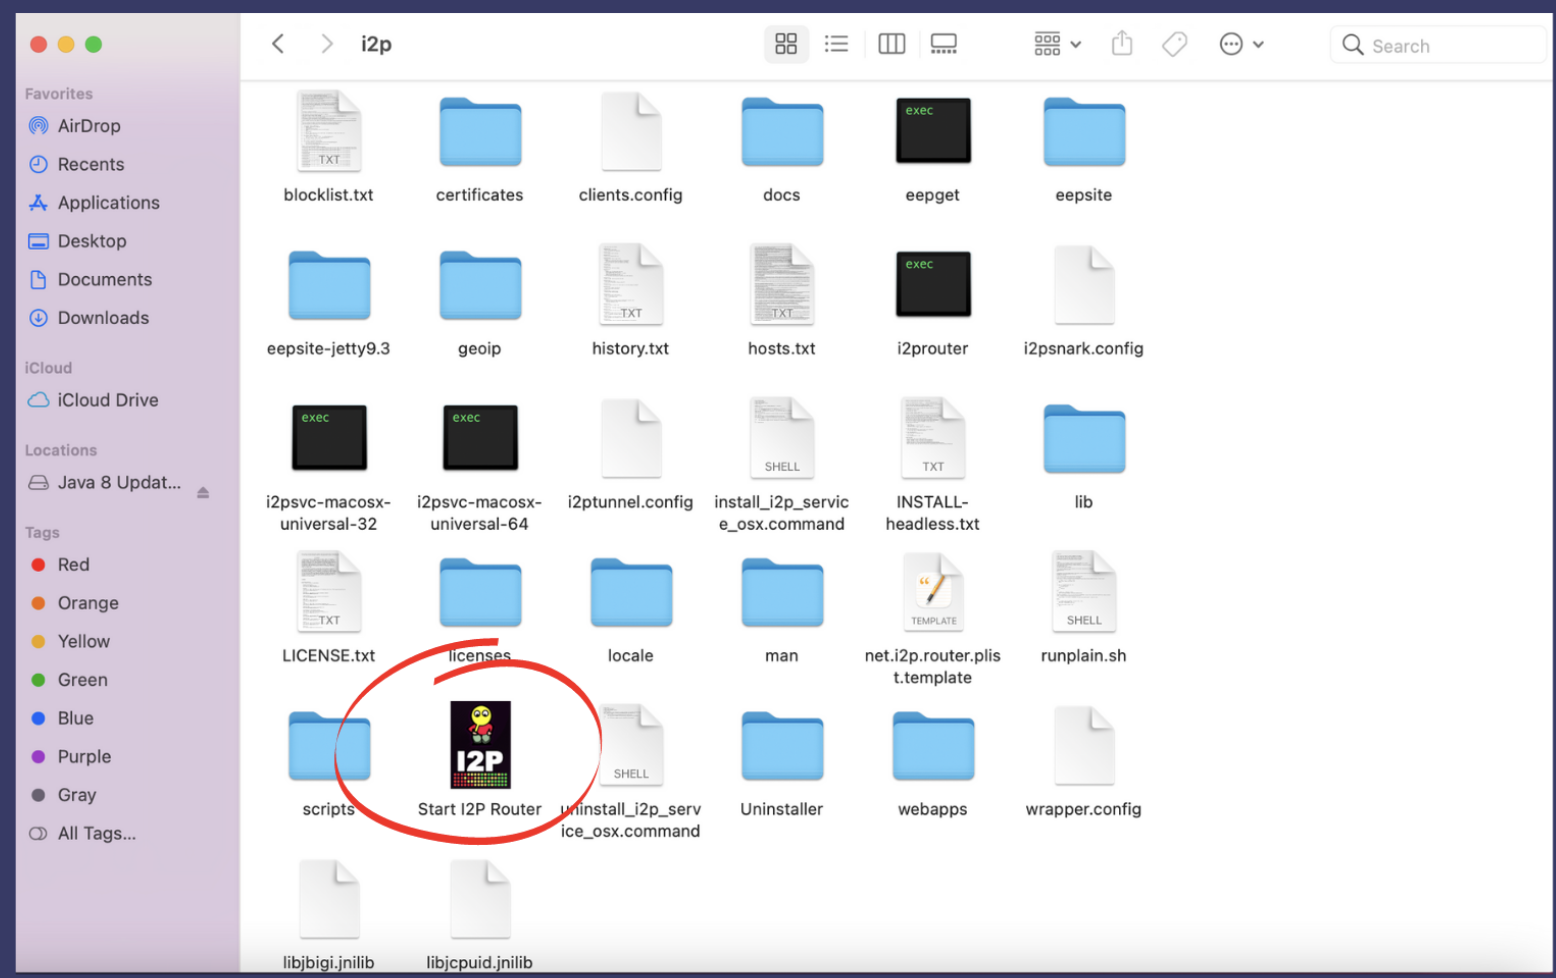
- Open the folder and find the Start Router Icon shown.
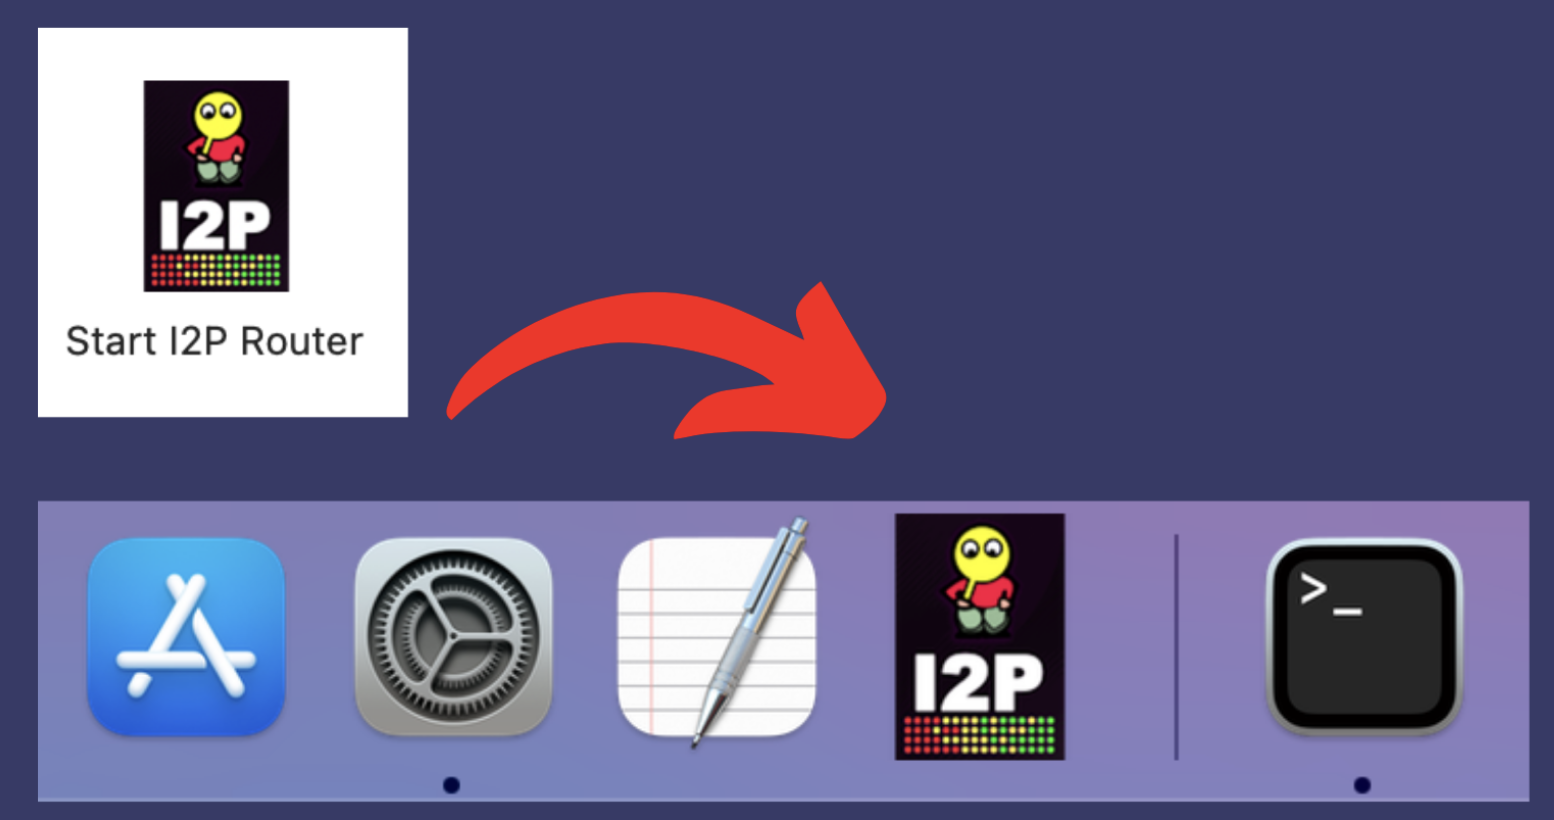
- Click the icon to start the I2P router - it will show up in your dock as shown and you can choose too keep it there.
Partie 4 : Configurer la bande passante I2P
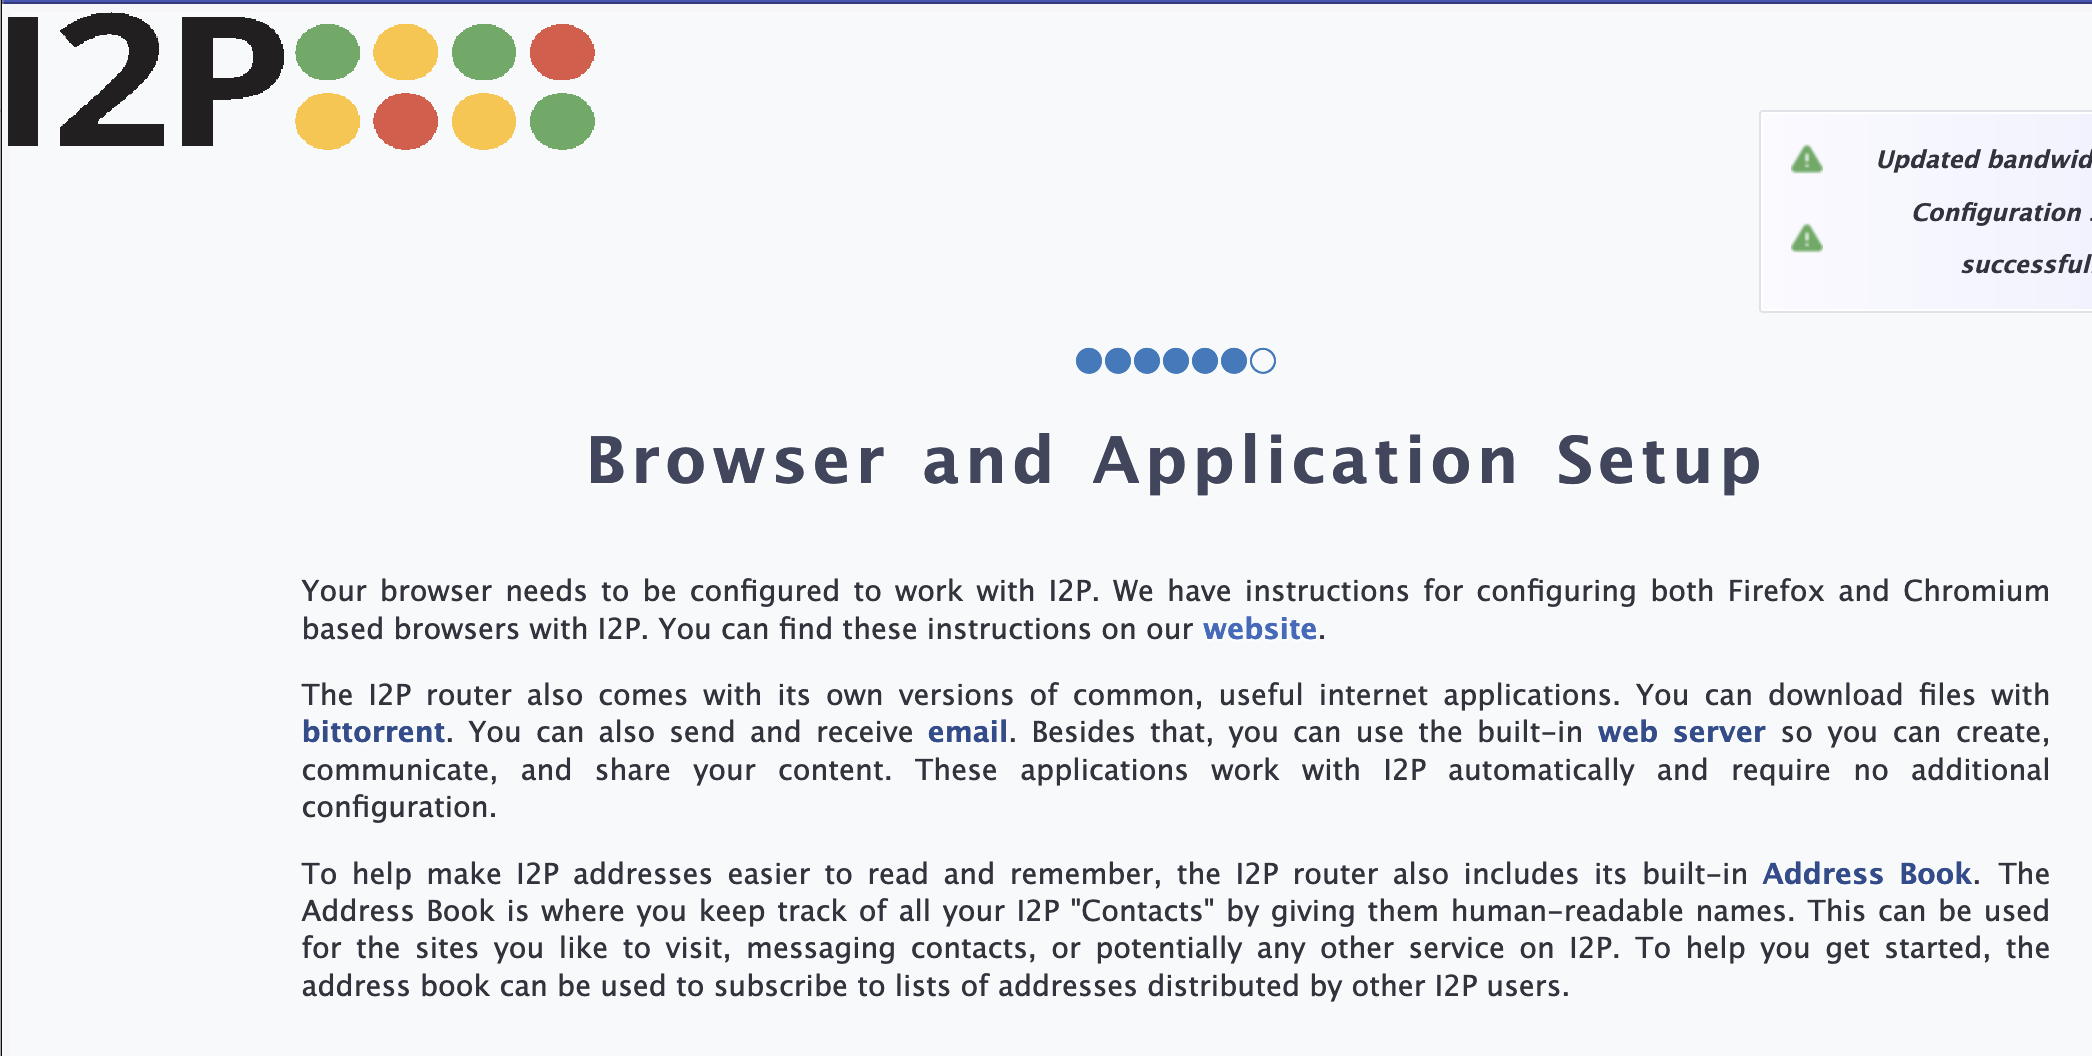
- When you visit the I2P router console for the first time, it will automatically direct you to the configuration wizard.
Start by selecting a language for the I2P interface.
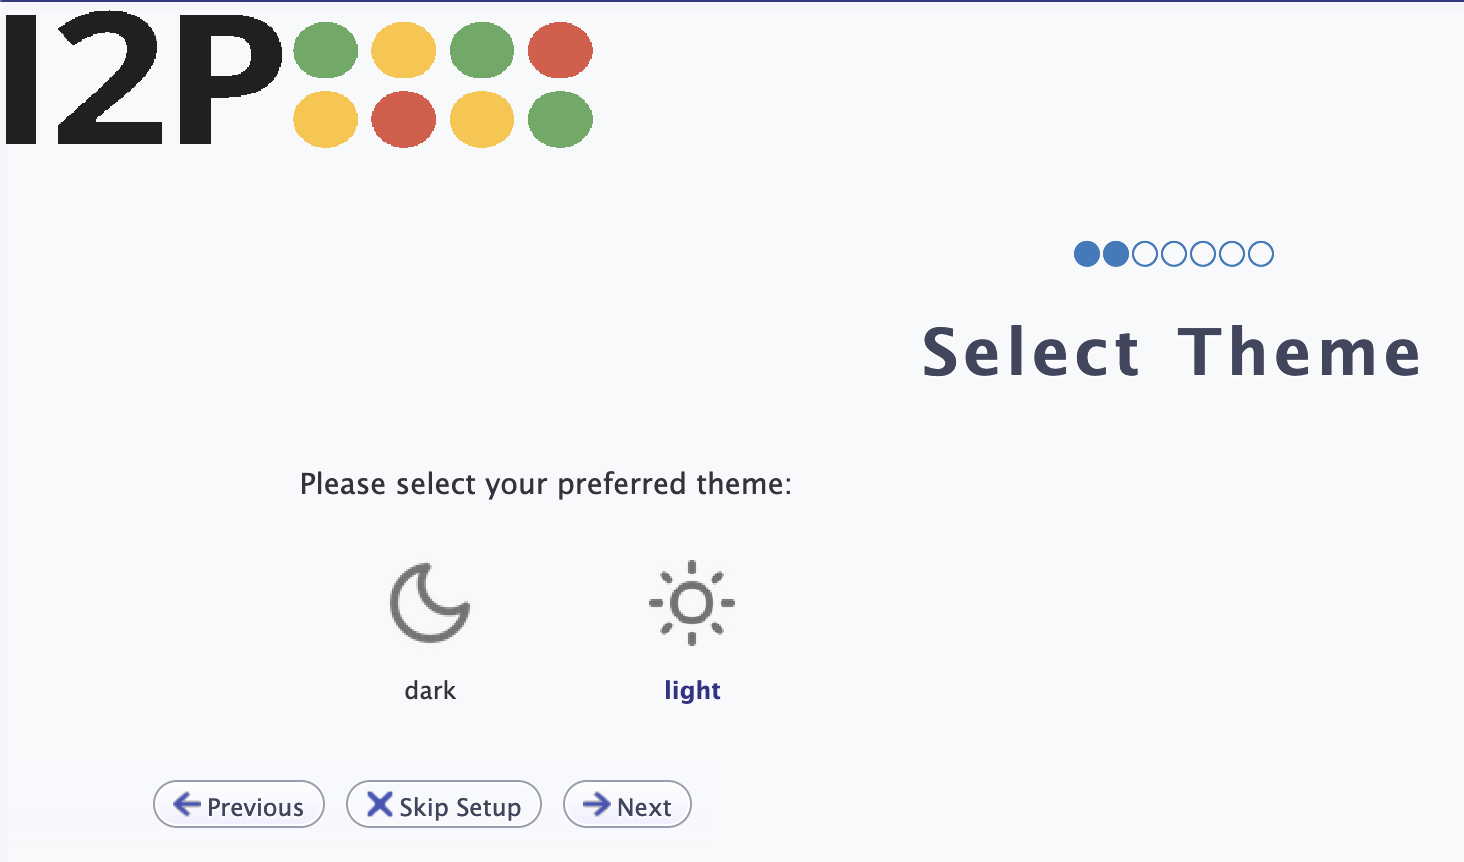
- Next, pick either a dark or light theme.
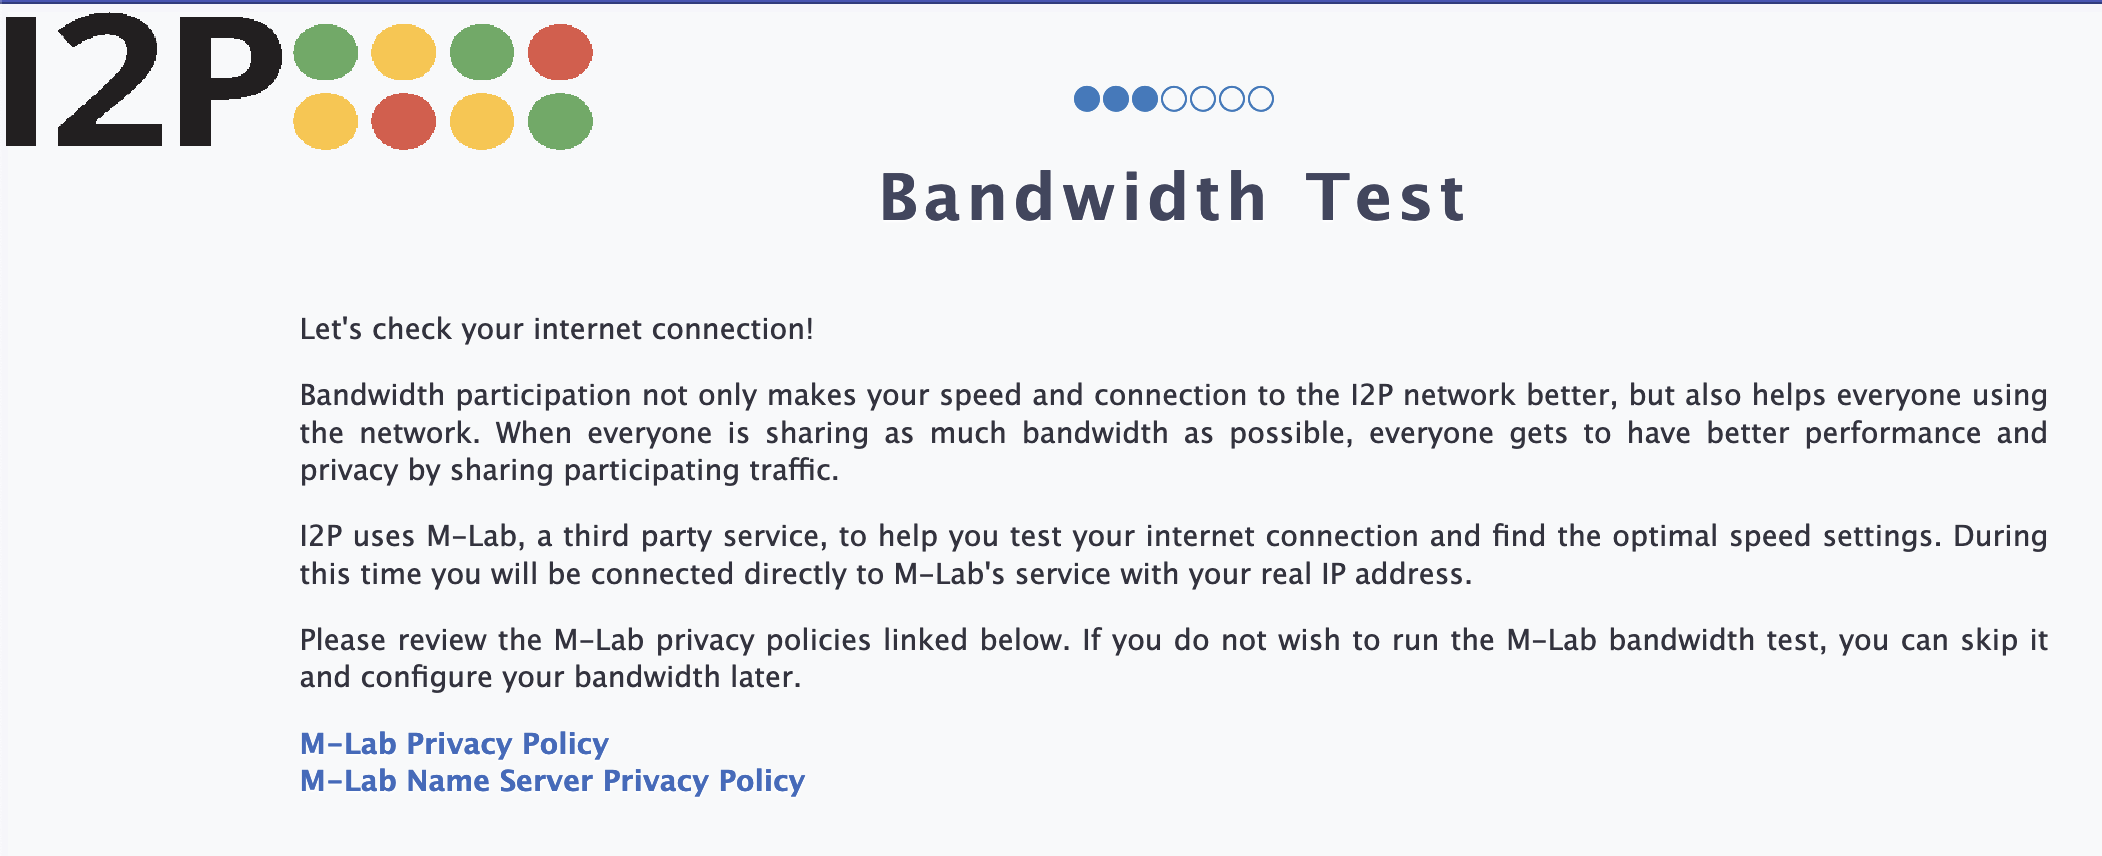
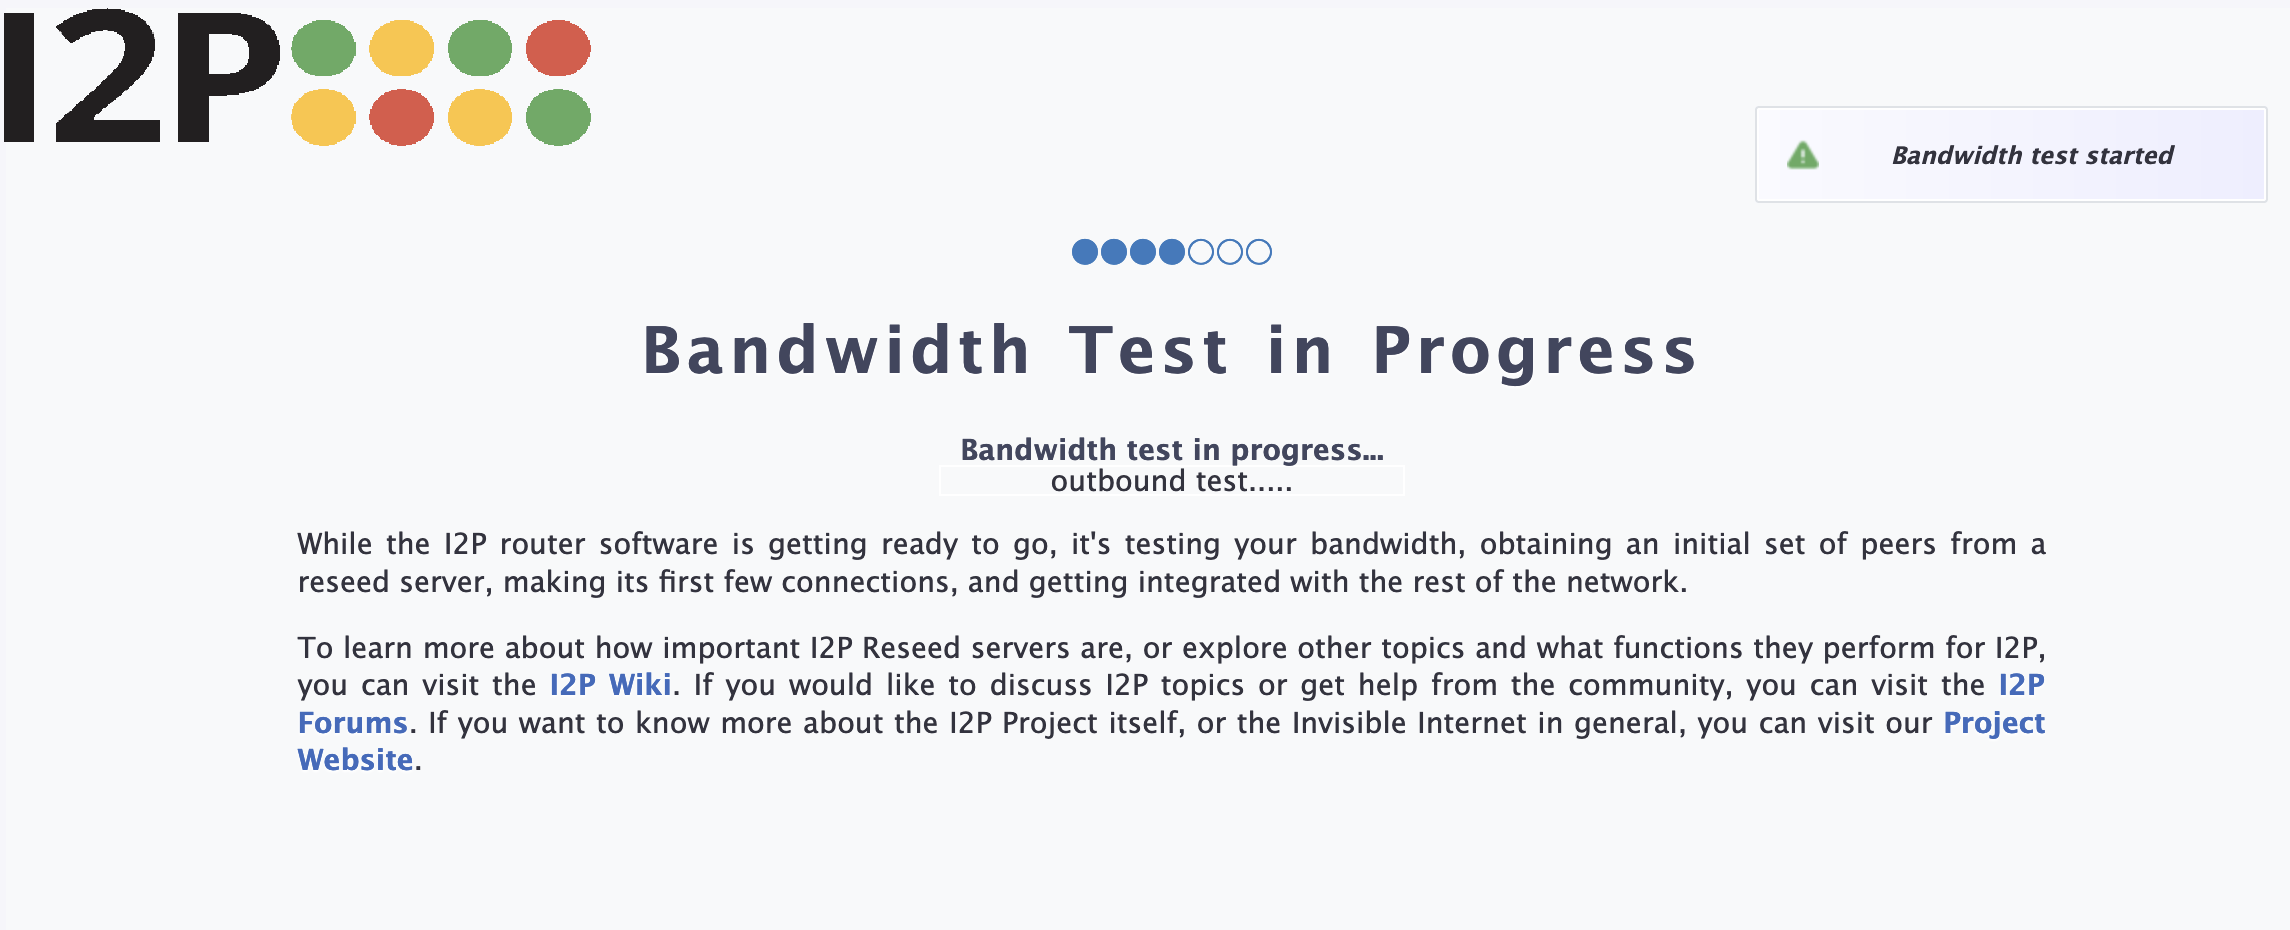
- The next step is the bandwidth test.
The bandwidth test takes a minute to run completely.
During the bandwidth test, we'll need to connect to the external M-Lab Service, which makes a direct connection to a remote server(Operated by Measurement Lab) to measure your internet speed.
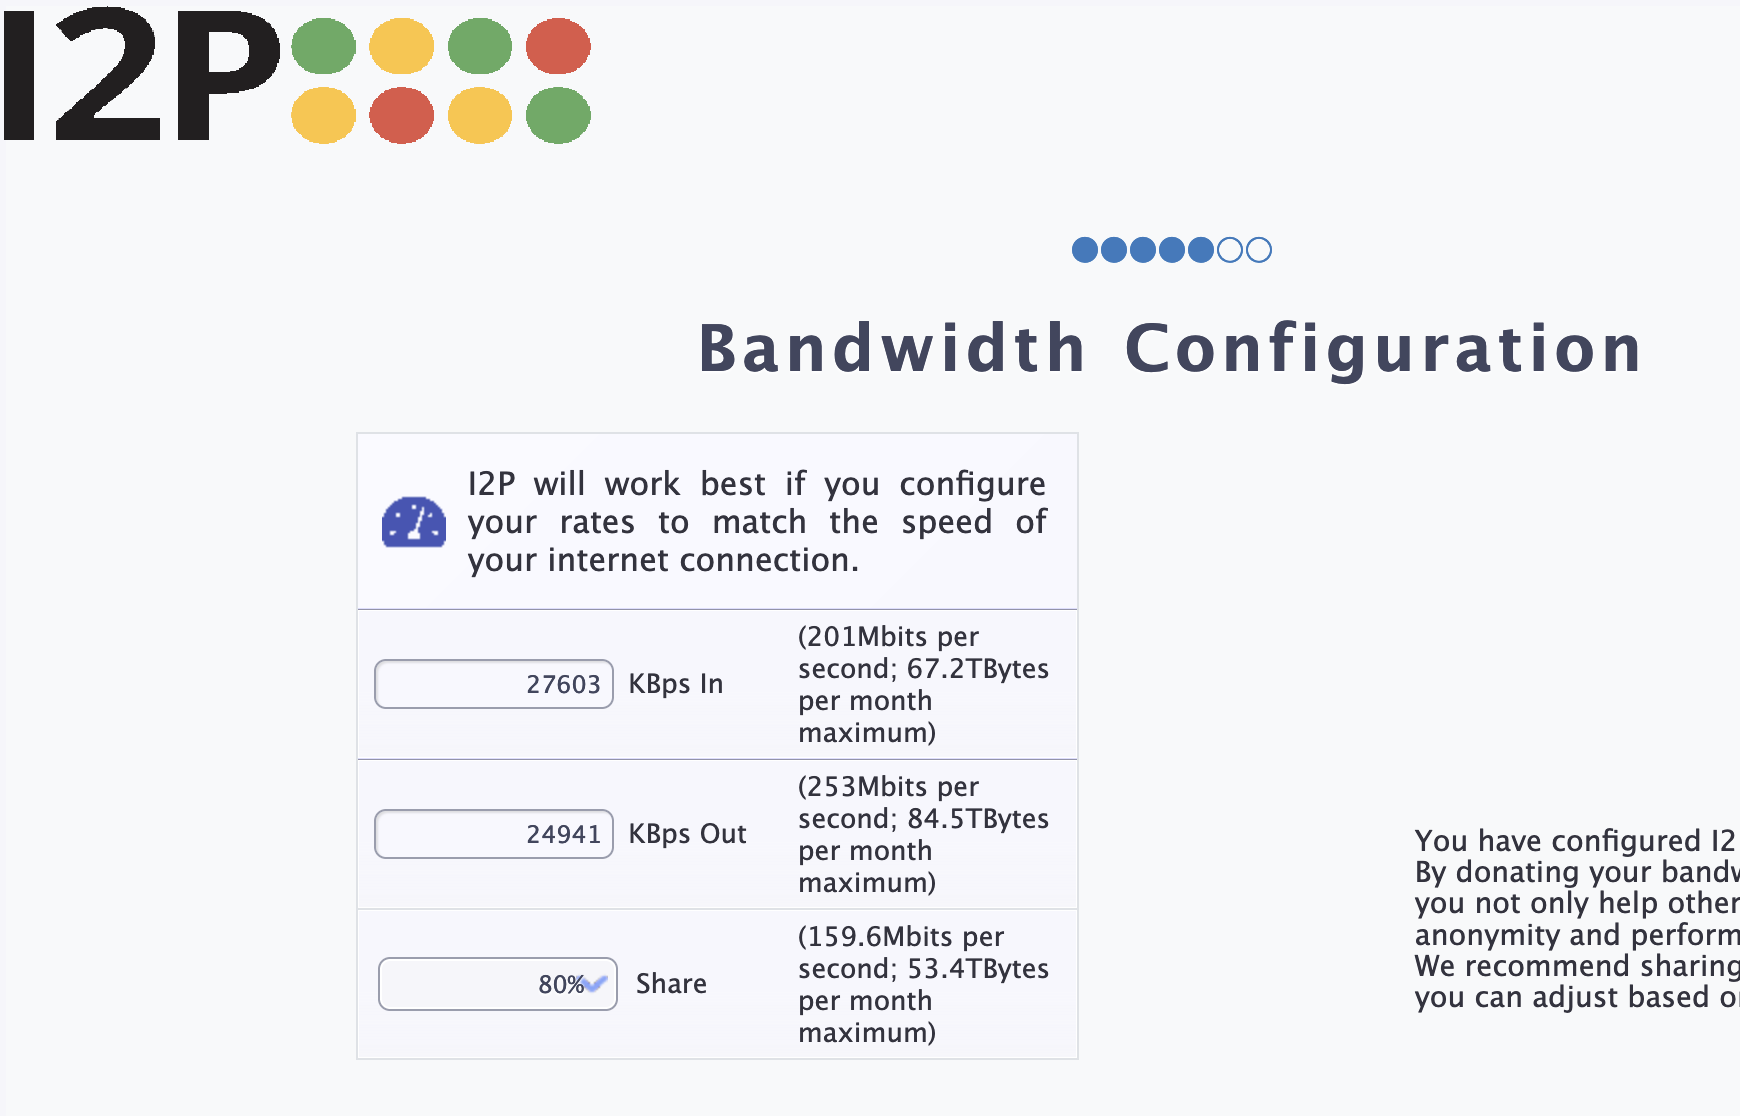
- Confirm the bandwidth measurement and adjust your share percentage.
- Confirm your bandwidth settings and adjust how much of your bandwidth you wish to share.
- You're finished! I2P is now configured.
Si vous voulez relancer le sorcier de bienvenu après l'avoir compléter, vous pouvez visiter la page sur your router console.
Et voilà ! Vous êtes désormais prêt à utiliser I2P. Vous pouvez naviguer I2P des sites, télécharger des fichiers, héberger des services, courriels et parler anonymement. Visitez la page d'accueil de la console du routeur pour commencer.


